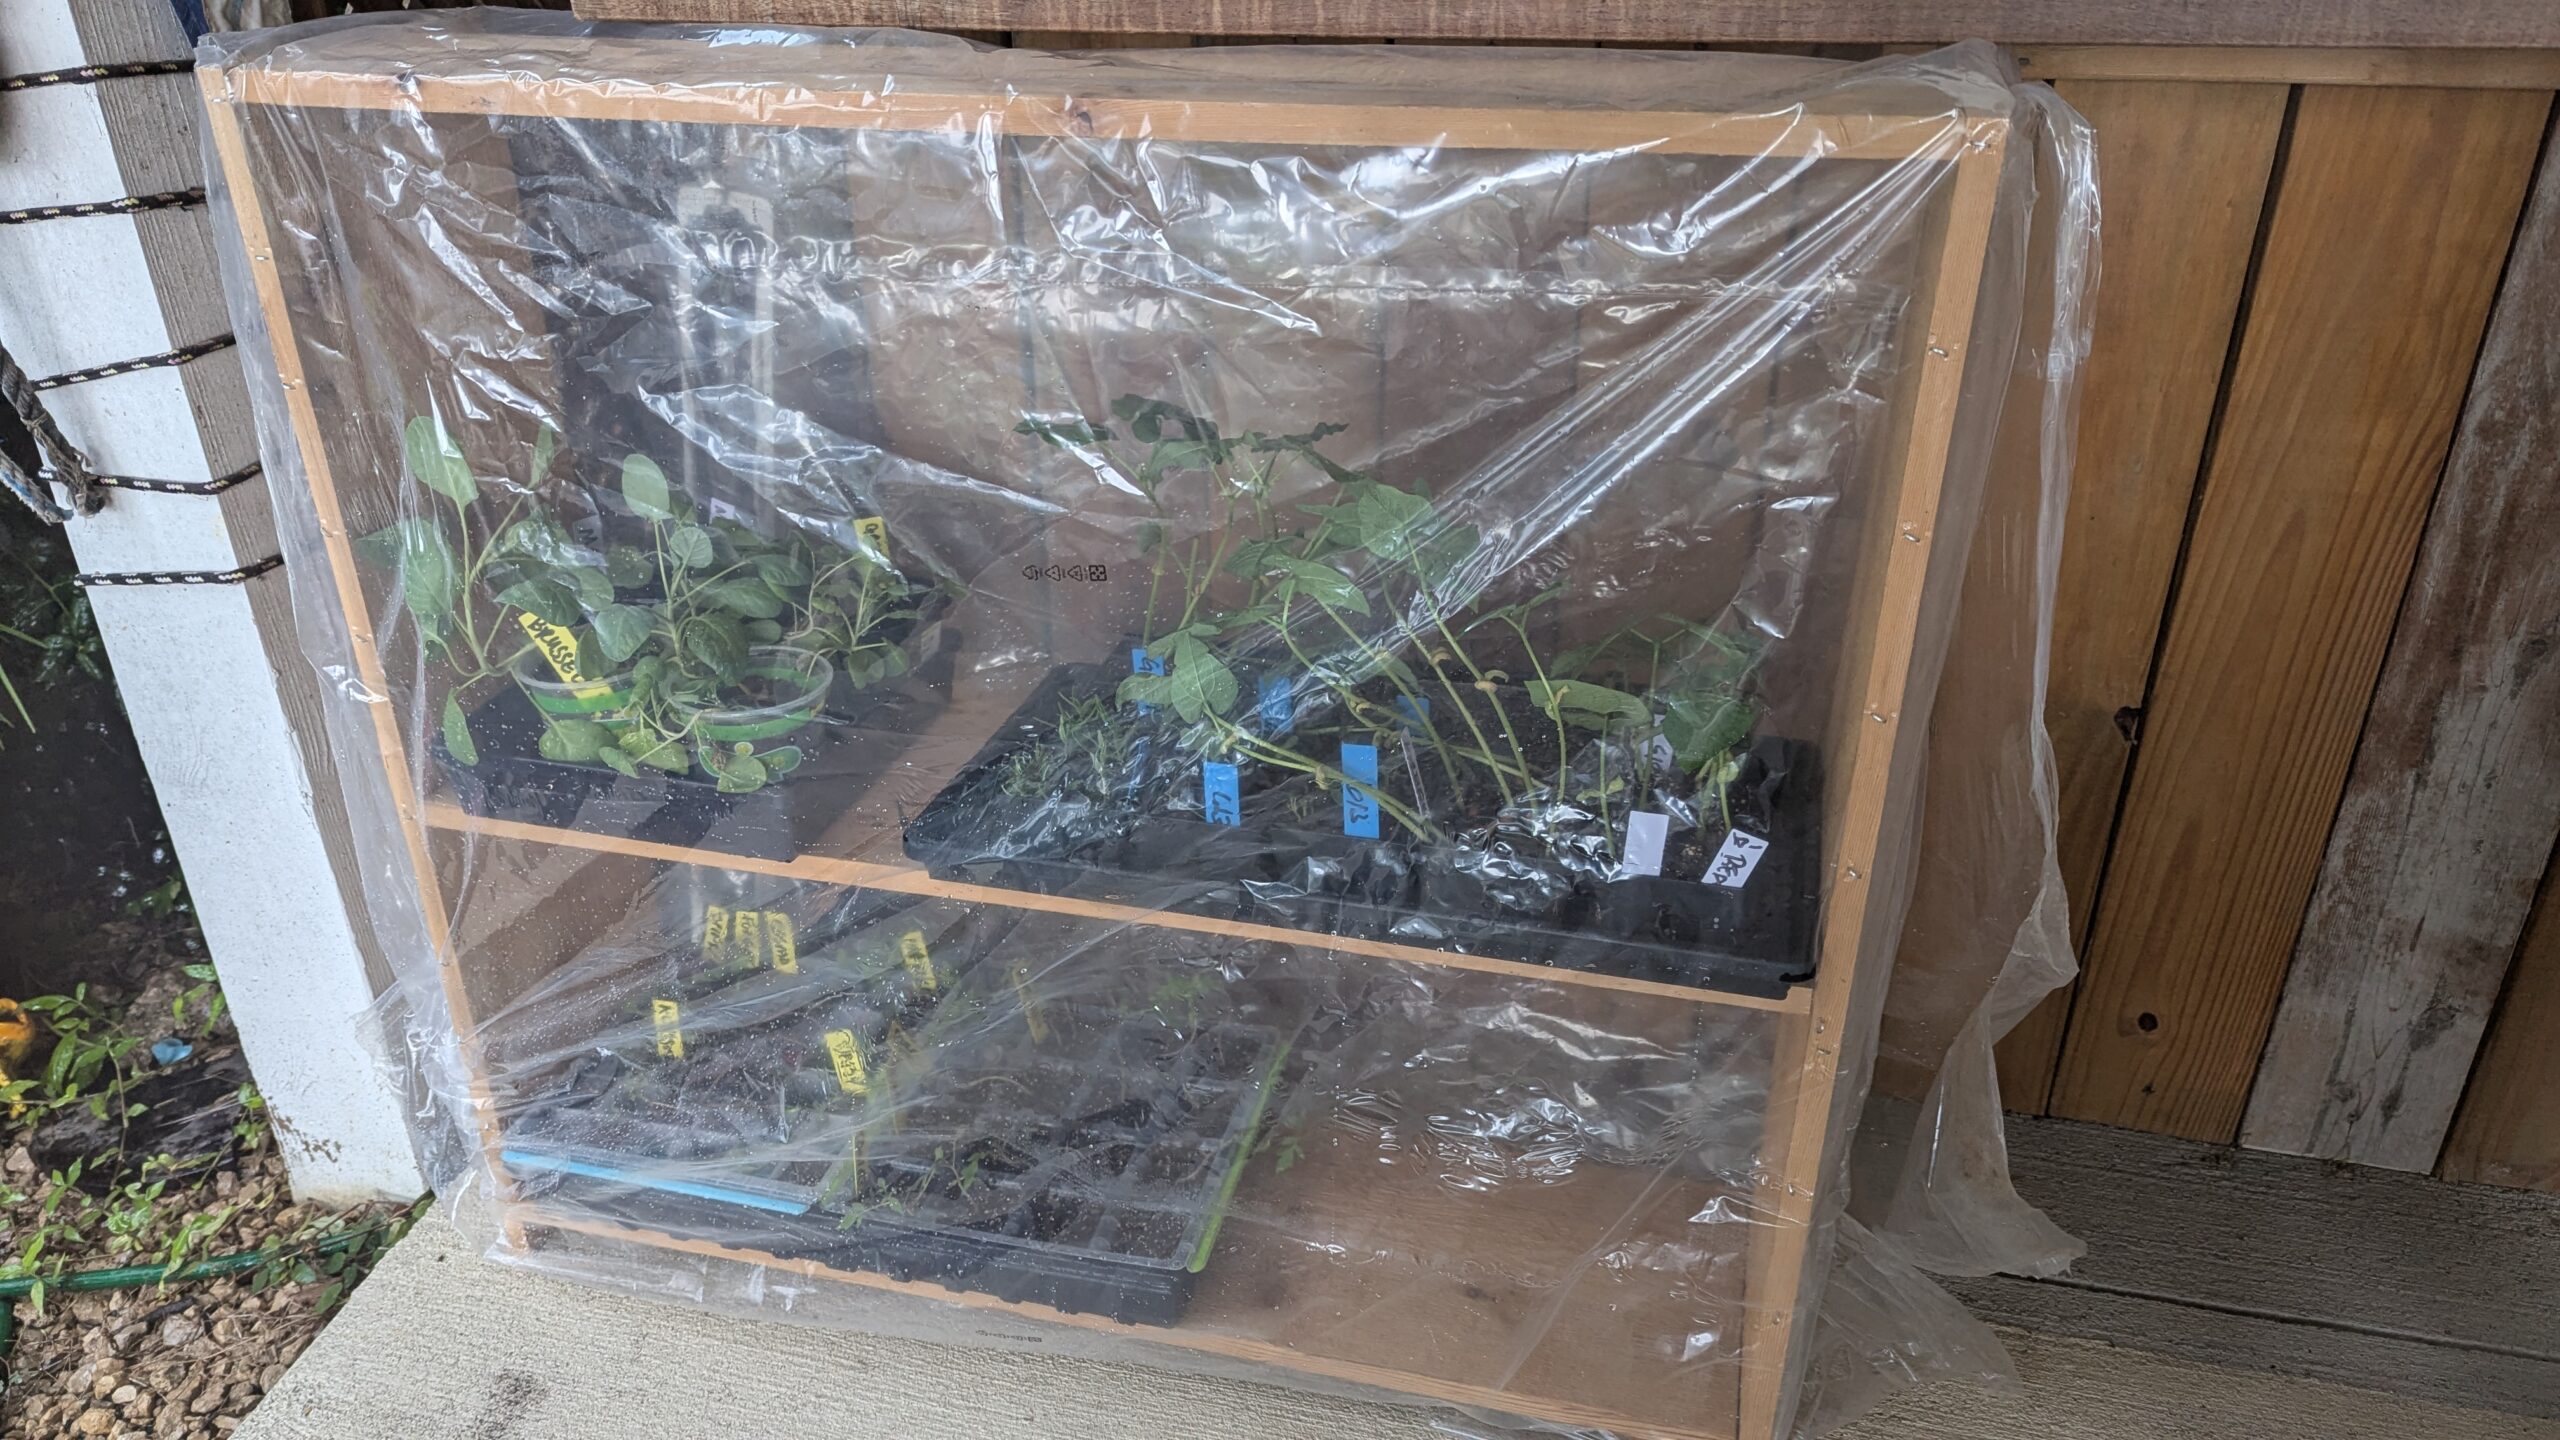
I needed a quick way to protect my seedlings while I was out of town, so I threw together this two-shelf mini greenhouse using leftover cedar boards and some plastic sheeting I had on hand. It’s nothing fancy, but it gets the job done—keeps the rain out, traps warmth, and gives young plants a fighting chance. If you’ve got some scrap wood lying around and a roll of visqueen, you can build this in under an afternoon.
Here’s how you can build a two-shelf greenhouse seed starter just like the one in your picture using leftover 12-inch cedar and visqueen (plastic sheeting):
Materials Needed:
- Leftover cedar boards (12″ wide) for frame and shelves
- Screws or nails
- Drill or hammer
- Clear visqueen plastic (heavy-duty plastic sheeting)
- Staple gun or small nails + washer caps
- Optional: wood glue, corner braces
Steps to Build It:
1. Build the Frame
- Sides: Cut 2 cedar boards to the desired height (approx. 36–48″ tall depending on your trays).
- Top & Bottom: Cut 2 more boards for the width (looks like 24–30” wide in your photo).
- Assemble a rectangle using the four boards. Secure with screws at the corners. You can reinforce with corner braces if needed.
2. Add the Shelf Supports
- Measure halfway up the frame for your middle shelf, and screw in short cedar board strips on each side to hold it.
- Optionally, add a back support piece across the middle for extra stability.
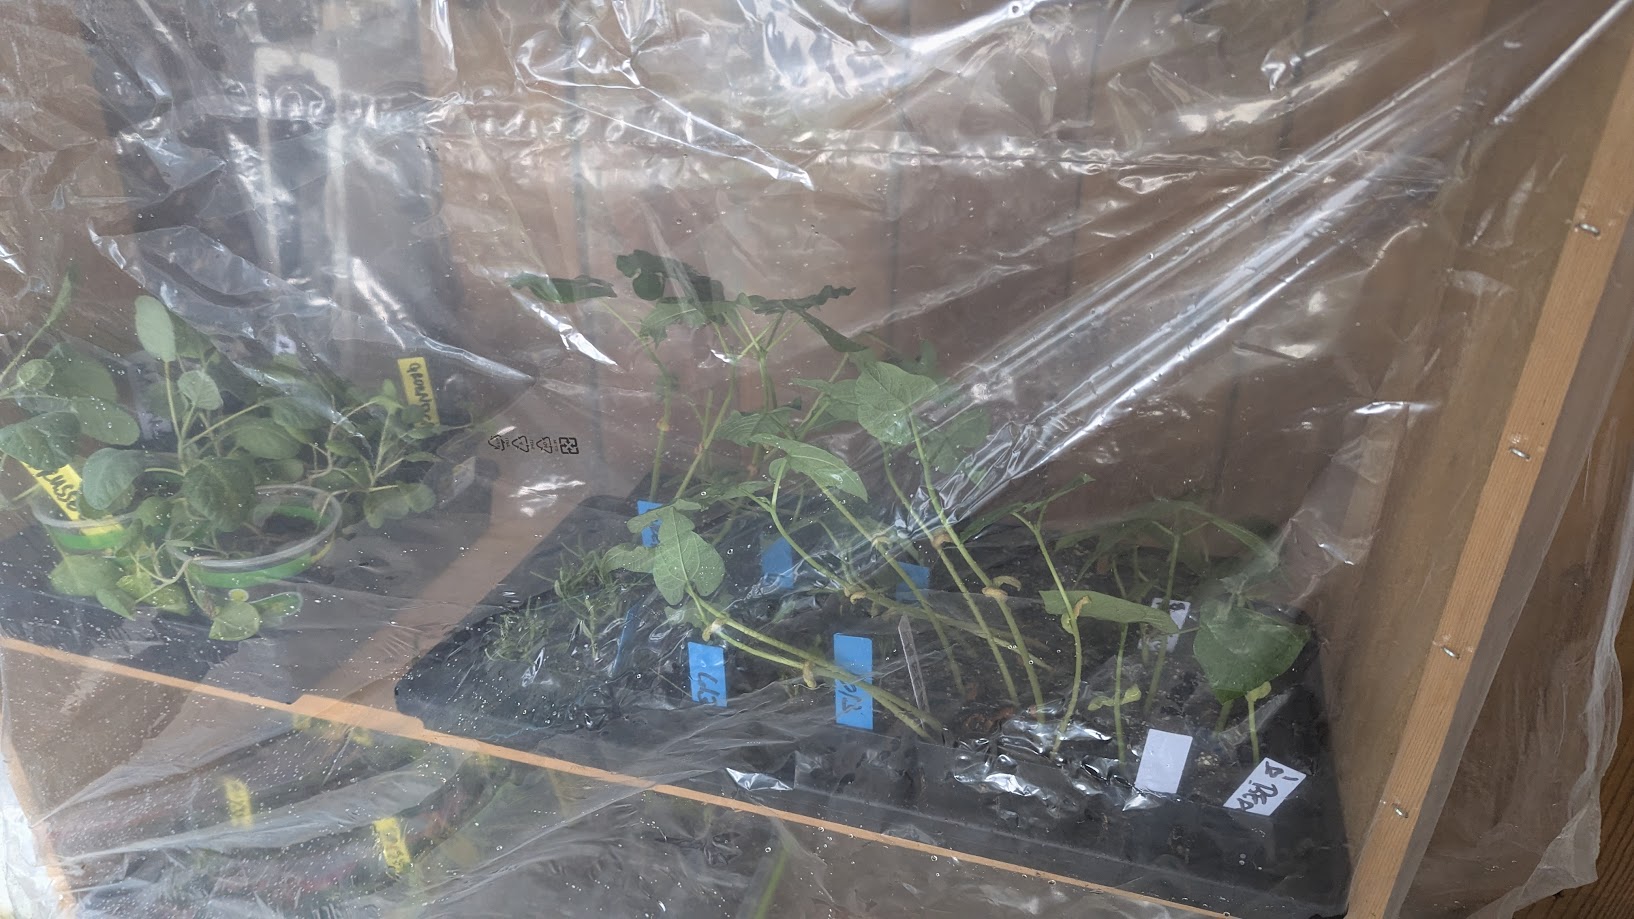
3. Insert the Shelves
- Cut 2 cedar shelves to fit the width and depth of your frame (12” x width).
- Lay the shelves in place. You can screw them down or leave them resting if you want them removable.
4. Cover with Visqueen
- Cut a piece of plastic large enough to drape over the front and sides.
- Staple the visqueen to the top edge first.
- Then wrap around the sides and staple or tack to the back edge. You can roll the sides around and secure with bungee cords like you did.
- Leave the bottom loose or weighted so you can lift it for access.
5. Optional Weatherproofing
- Add small holes in the plastic for airflow or hinge a flap for access.
- Use a brick or wood strip to weigh the bottom edge down in wind.
Tips:
- You can scale this up or down depending on how many trays you need.
- If it gets too humid, prop the plastic slightly open with a stick for ventilation.
- For longer use, consider replacing the visqueen with clear polycarbonate panels or repurposed storm windows.